How to make a quilt
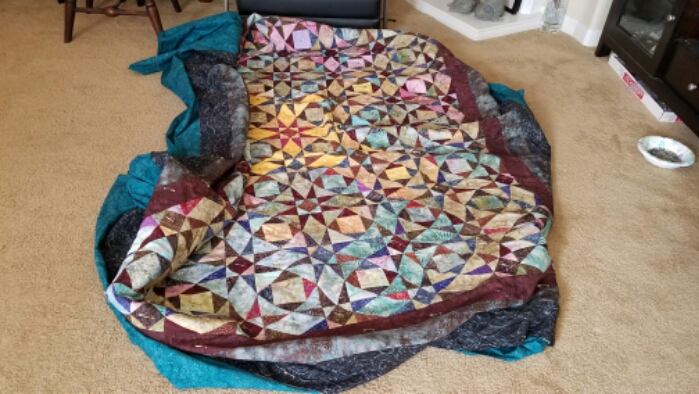
First, either make or otherwise acquire a completed quilt top. EBay is a great place to find vintage quilt tops. The next step is create the quilt sandwich if backing, batting, and quilt top.
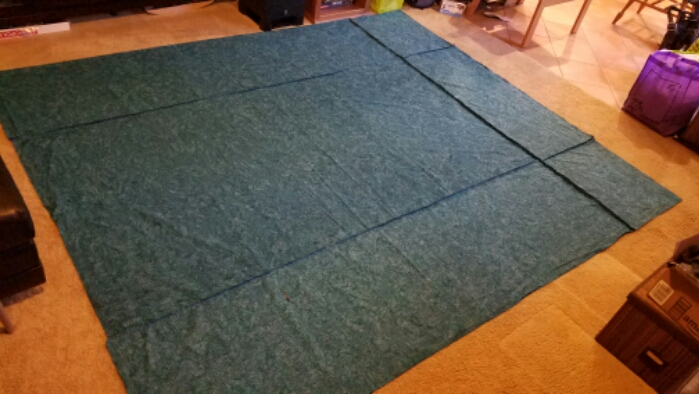
First choose a color that contrasts with the border. Skip the patterns – stick with solids or near solids – you are not competing with the pattern on the front. Top points awarded for following the above rules while spending as little as possible.
Second, find an area large enough to lay out the entire quilt flat plus an additional foot or two on each of the four sides.
Quilt lore dictates that the back be pieced as shown to avoid the big seam down the center. Split the 2nd piece and sew each half to the center piece to achieve a backing wider than 44″. However, the seams may interfere with flatness.
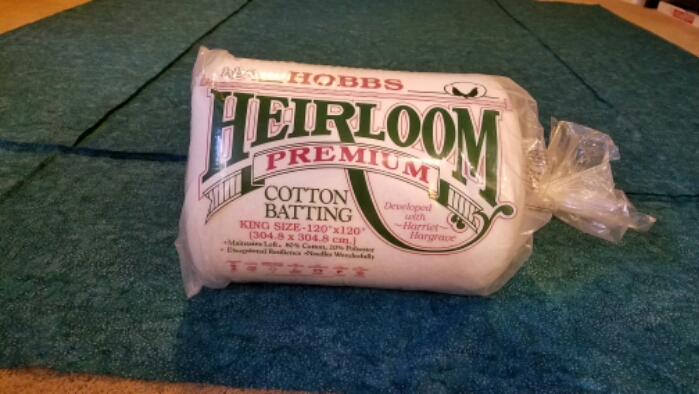
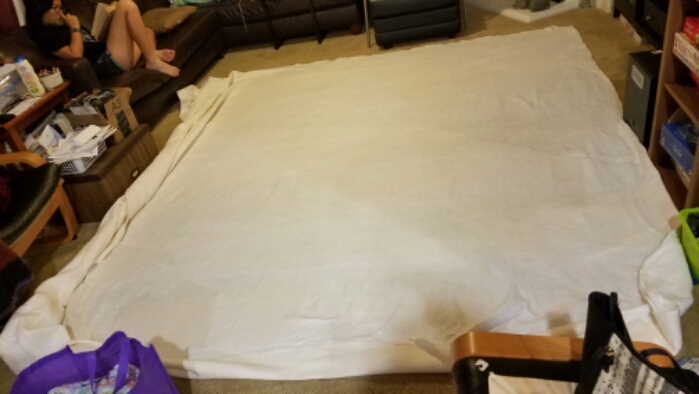
Lay out the batting on top of the backing. If the batting has been in a bag for 10 years, fluff it in the dryer for 10 minutes. Don’t forget to tug at the backing to make sure it is still flat under the batting. Do not forget this step.
Do several rounds of smoothing out the batting. It should be relatively taut. Yes you will have to crawl on top of the quilt. You took your Glucosamine chondroitin for several days prior to this, right?
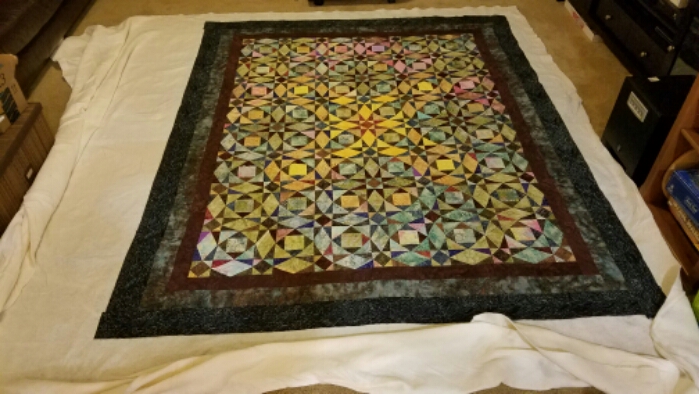
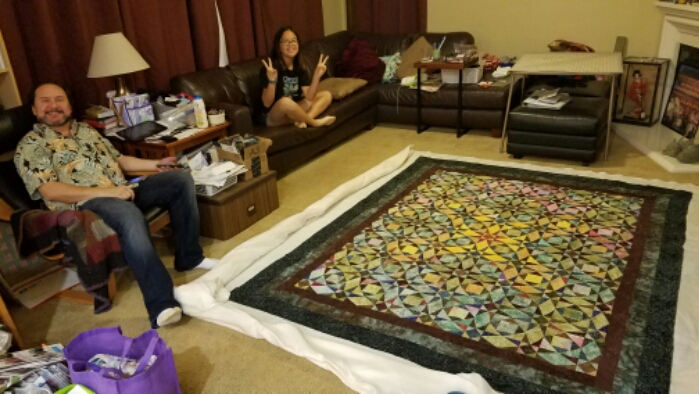
Lay out the quilt top on top of the backing and batting. Check the placement of the top relative to the seams of the backing to make sure it isn’t skewed. Smooth out the top starting at the middle and working out to the edges. Do this at least 3 times. The backing, batting, and top should be fairly taut.
Be sure to annoy your family by making it difficult to reach the couch.
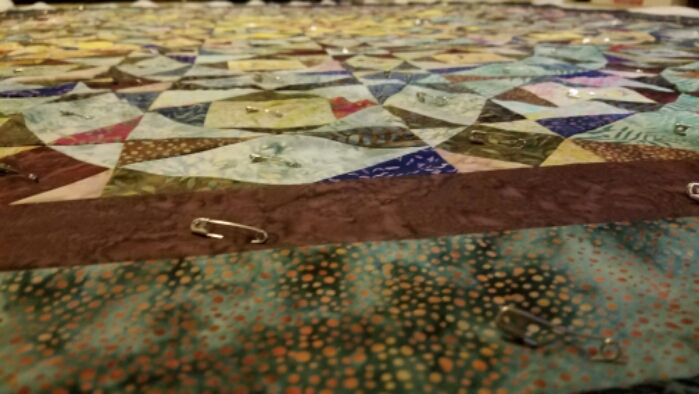
Then either baste or safety pin the layers together, at approximately 3-4″ intervals. Don’t safety pin if you are planning on machine or longarm quilting.
Trim the batting to the size of the quilt top.
Now time for the actual quilting of the layers together! Stay tuned for part 2.
